How to Create a Digital Badge - (10 min)
Creating an art/badge/token in blockchain is easier than you think. Niftron SDK createBadge function creates your badge with few necessary parameters passed.
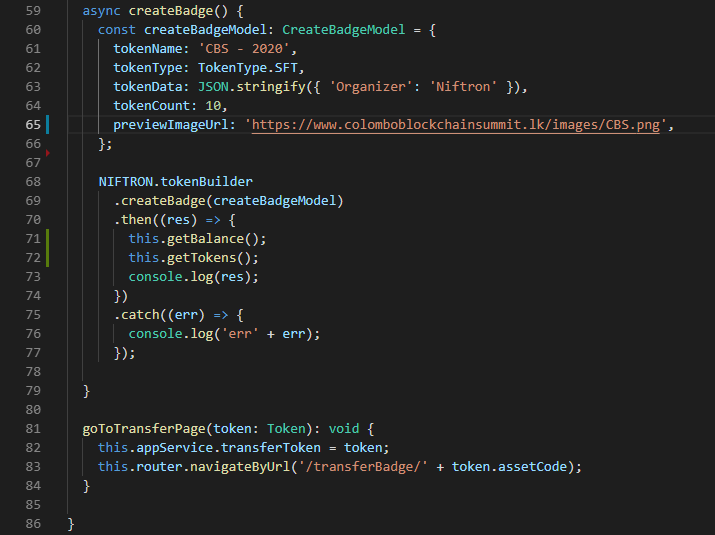
Mint Token (Create Badge)
import { CreateBadgeModel, TokenType } from "niftron-sdk";...........const createBadgeModel: CreateBadgeModel = {tokenName: "----Unique Name-----",tokenType: TokenType.SFT,tokenData: "-----Stringified Json From User-----",tokenCount: 10,previewImageUrl: "---imageURL---",};niftron.tokenBuilder.CreateBadge(createBadgeModel).then((res) => {console.log(res);}).catch((err) => {console.log("err" + err);});
In the badges component you copy paste the particular code and specify the token/badge name you want your badge to appear, token type whether it is a SFT or NFT, any data you want to embed into the badge, no of badges you want to create and finally the image or art you want to appear as your badge.
Note: Here are some online tools where you can design your badge with a logo and export as a .png file.
- Canvas: https://www.canva.com/design
- Adobe: https://spark.adobe.com/sp/design/
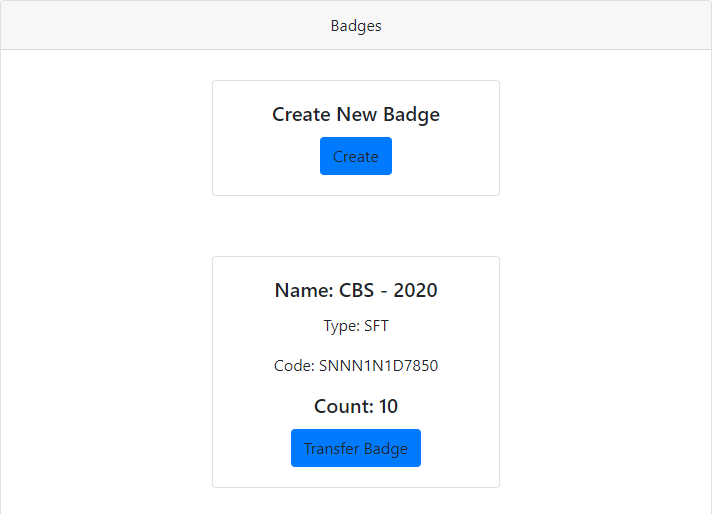
Once you have configured the parameter, save and click on the create badge button. Hooray! We have created our first badge in the blockchain!
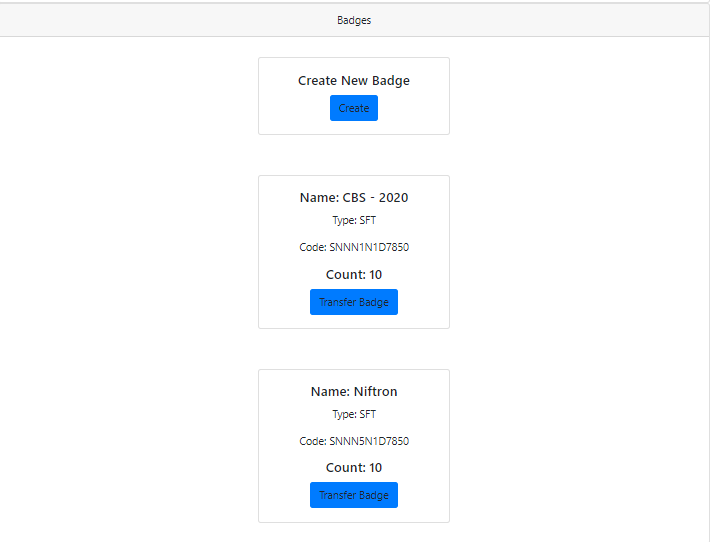
By changing the parameters you can create multiple badges which will be listed as shown below.
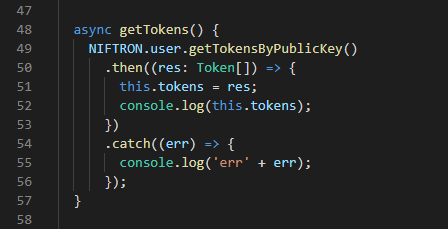
Get token function will give a list of all the tokens associated with that developer account.
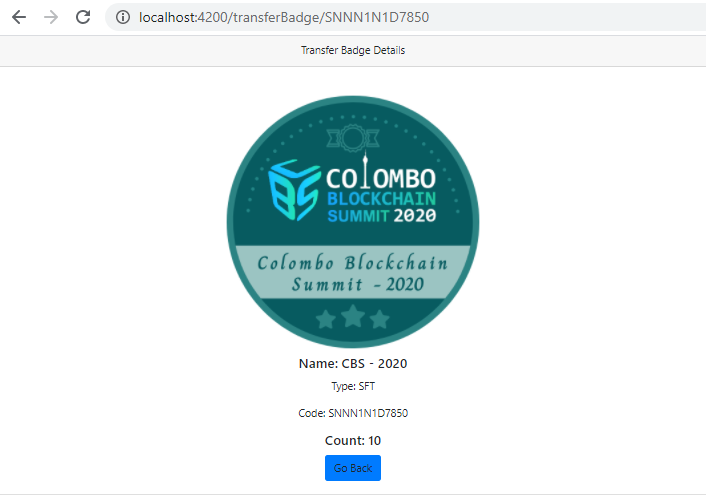
Now, let's try to transfer the badge we have created to a friend.