Getting Started - (15 min)
Let's learn by example how to build a badge sharing application. We'll implement real-world features like creating a badge and transferring the badge. Let’s get started!
Prerequisites
If you want to follow this tutorial, you’ll need to have:
- Prior knowledge of TypeScript.
- A development machine with Node 8.9+ and NPM 5.5.1+ installed. Node.Js is required by the Angular CLI. You can head to the official website and grab the binaries for your system. You can also use NVM — Node Version Manager — a POSIX-compliant bash script to install and manage multiple Node.js versions in your machine.
This tutorial doesn’t require blockchain developing knowledge and involves two main steps.
Create Niftron developer account
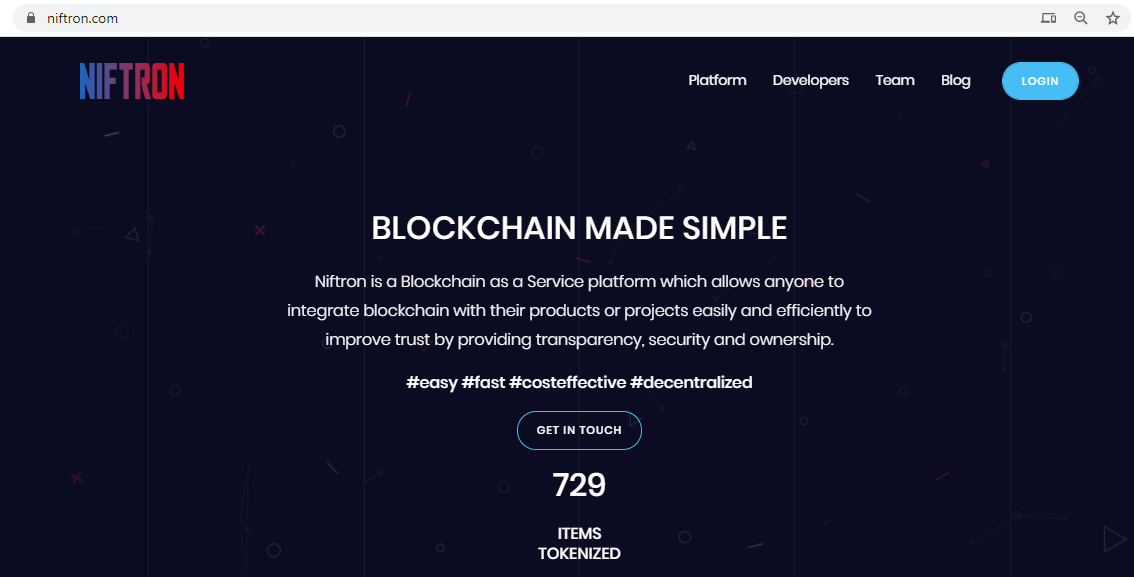
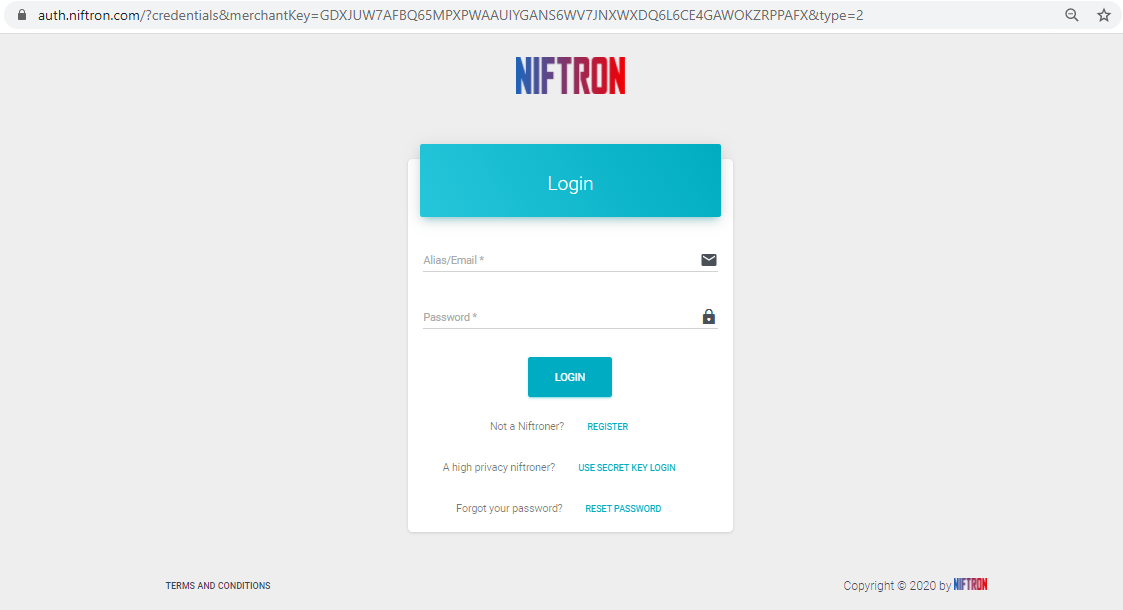
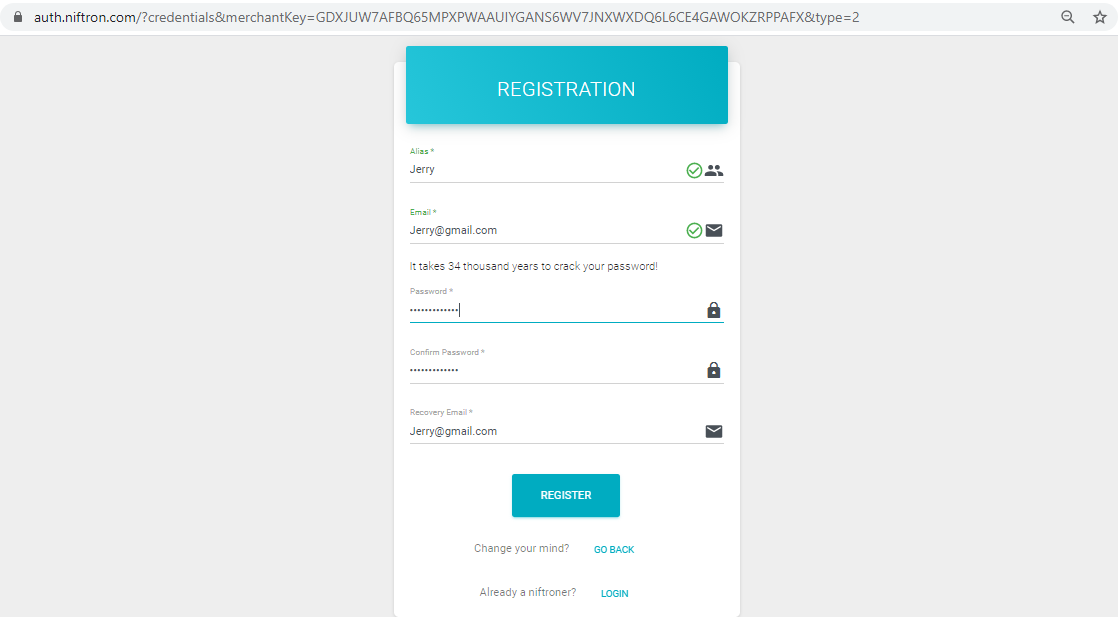
Visit the Niftron Website and click the login button as shown below. Once Niftron authentication is opened in a new page, click register. Or rather directly visit the Niftron Console.
Niftron Website: https://www.niftron.com/
Niftron Console: https://console.niftron.com/
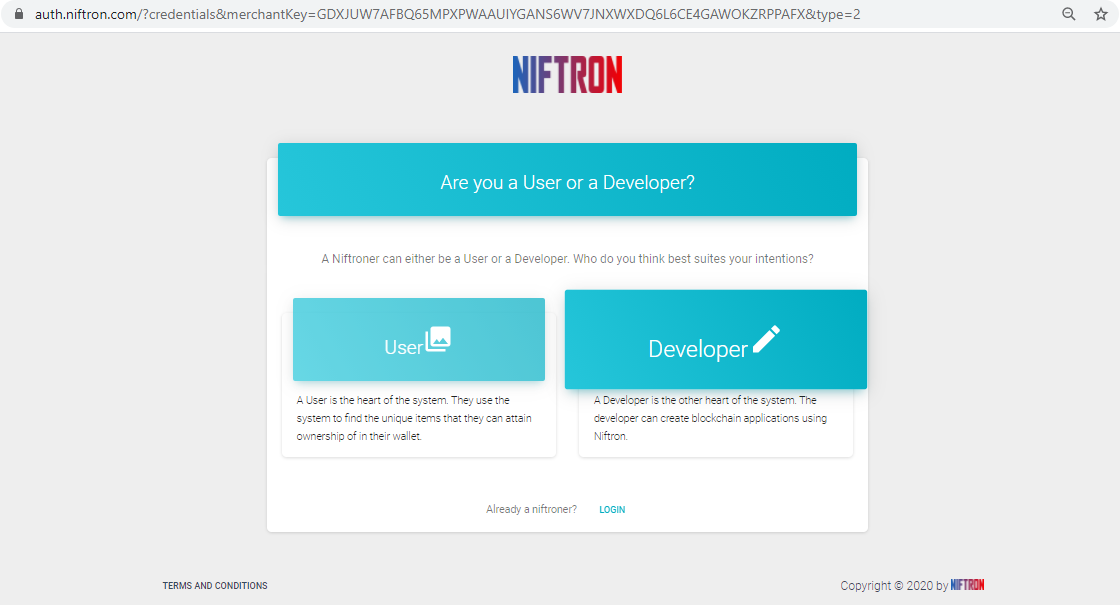
Choose the account type as a developer account as we are trying to develop an application.
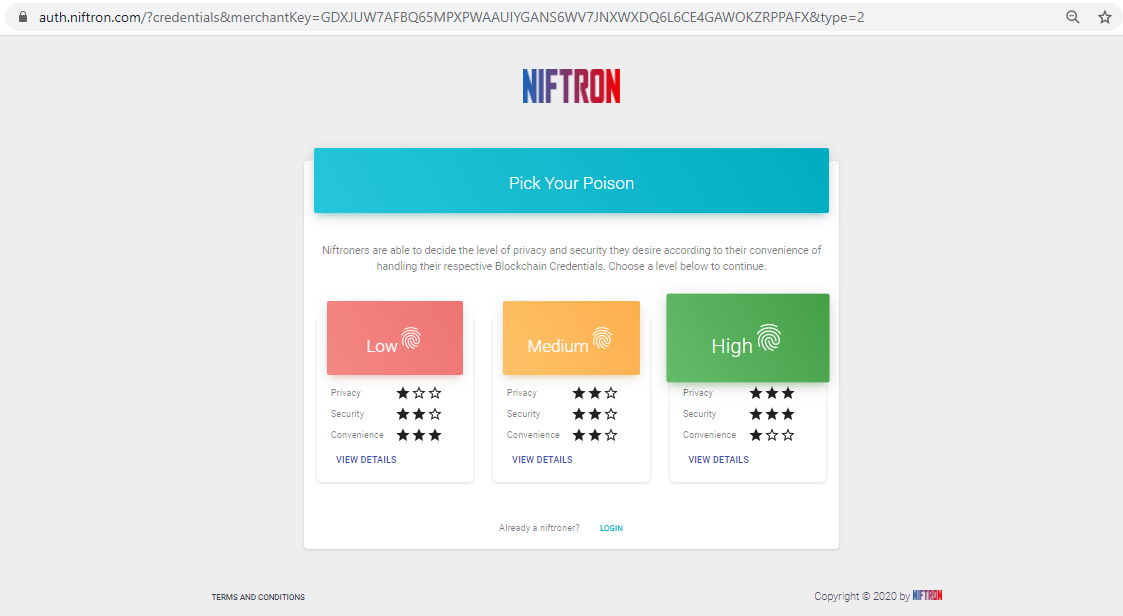
Niftron provides three levels of security: high, medium and low respectively. Niftroners are able to decide the level of privacy and security they desire according to their convenience of handling their respective Blockchain Credentials. Choose a level below to continue.
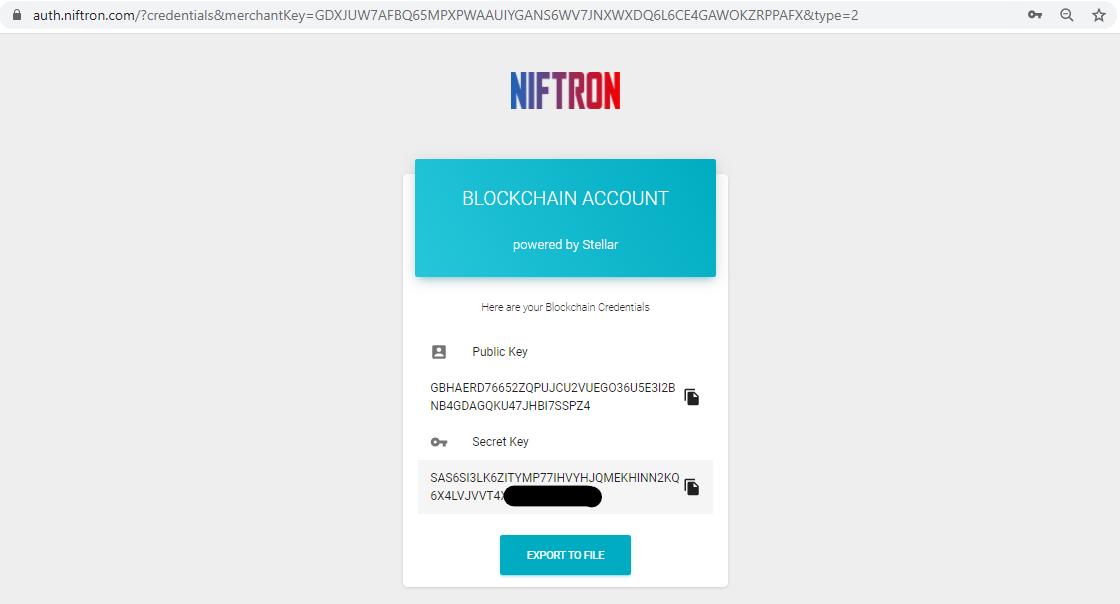
On successful registration you will get access to your blockchain public and private keys. Store them in a secured place. You also can save a special Niftron extension file which holds the security credentials for you.
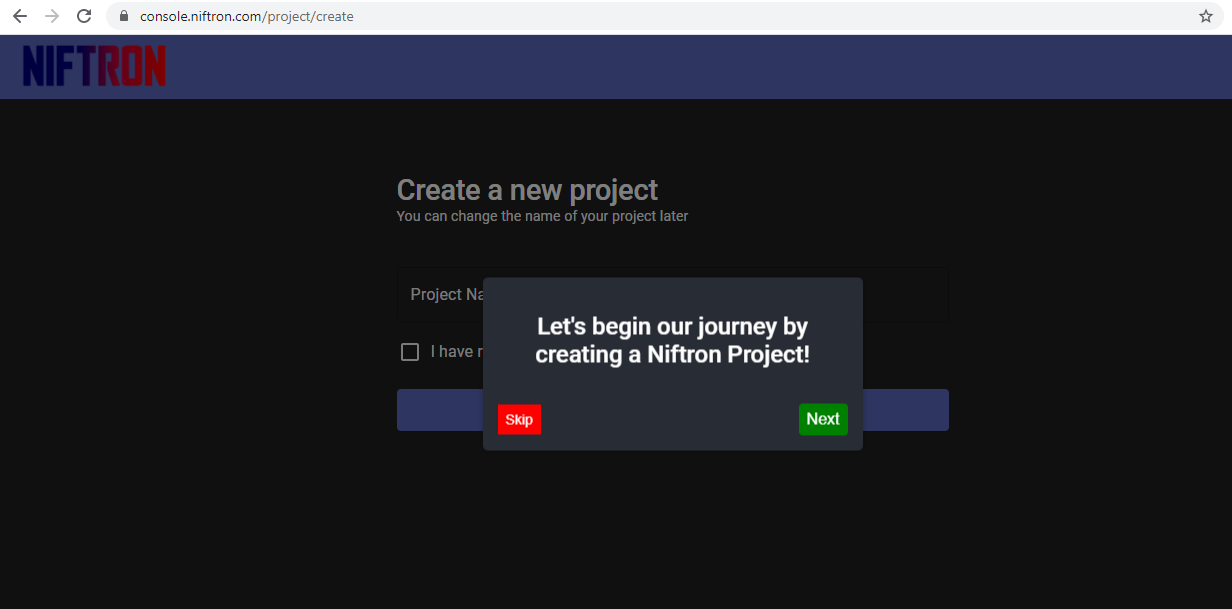
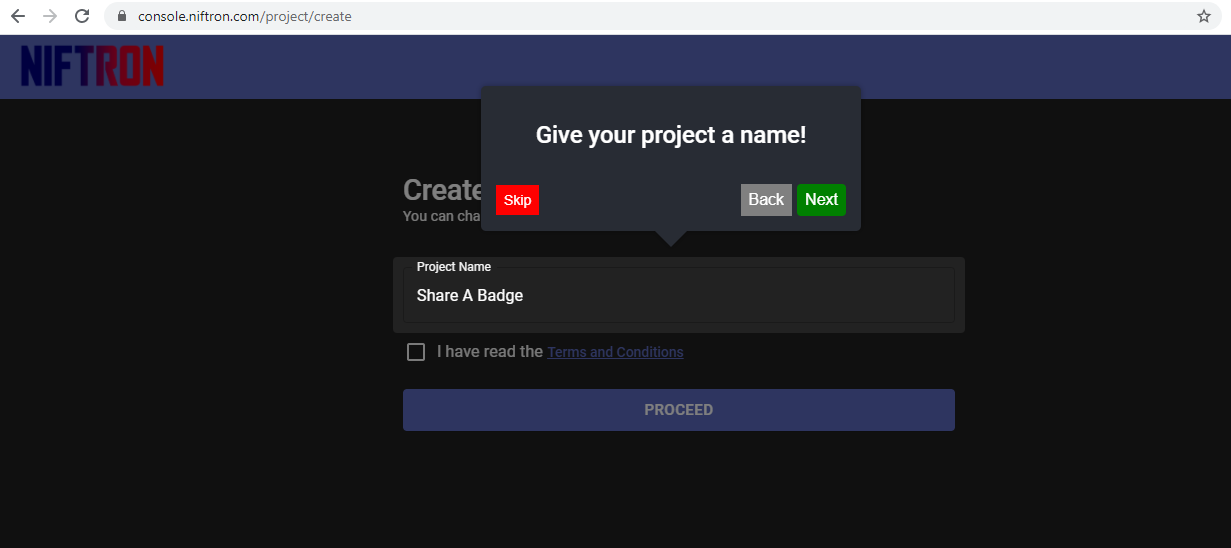
Create your first project
Create your first testnet project where you will create the digital art/badge. Follow through the onboarding steps and create the project as shown below. NIFTRON CONSOLE: https://console.niftron.com/
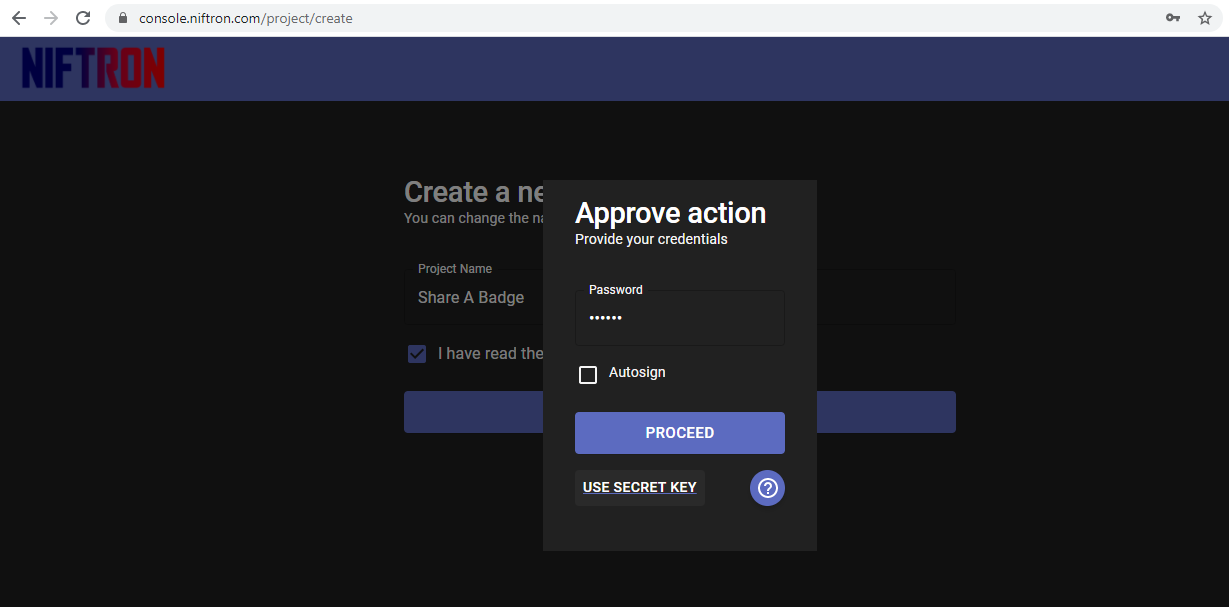
Any actions that you are performing in blockchain has to be approved by signing with your private key. For example creating the project under your account needs to be approved with your secret key as shown below.
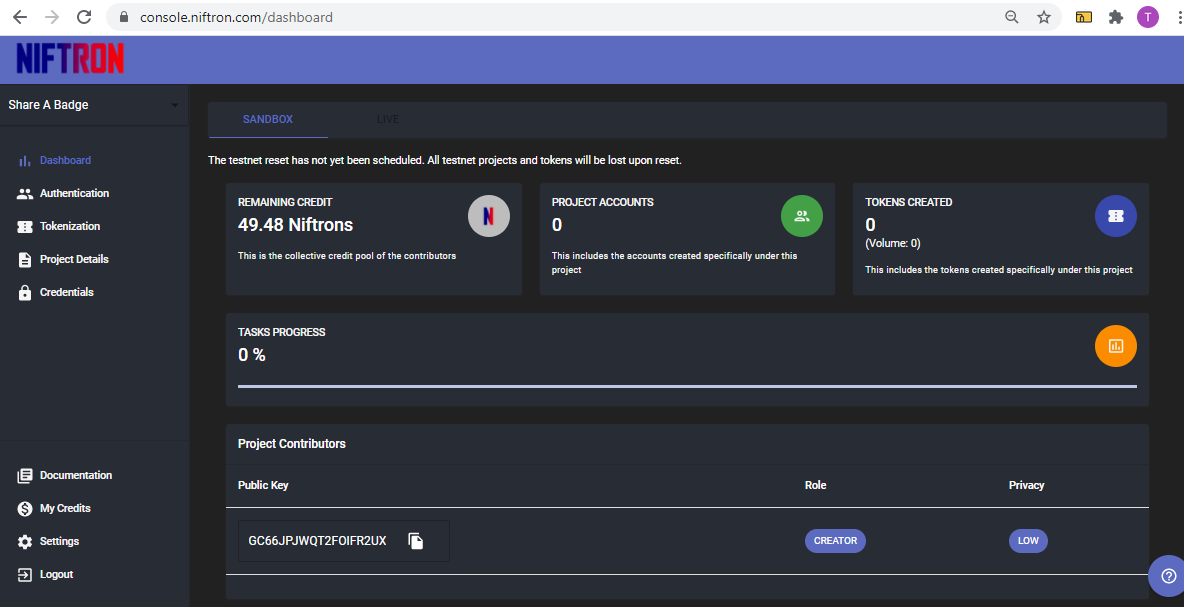
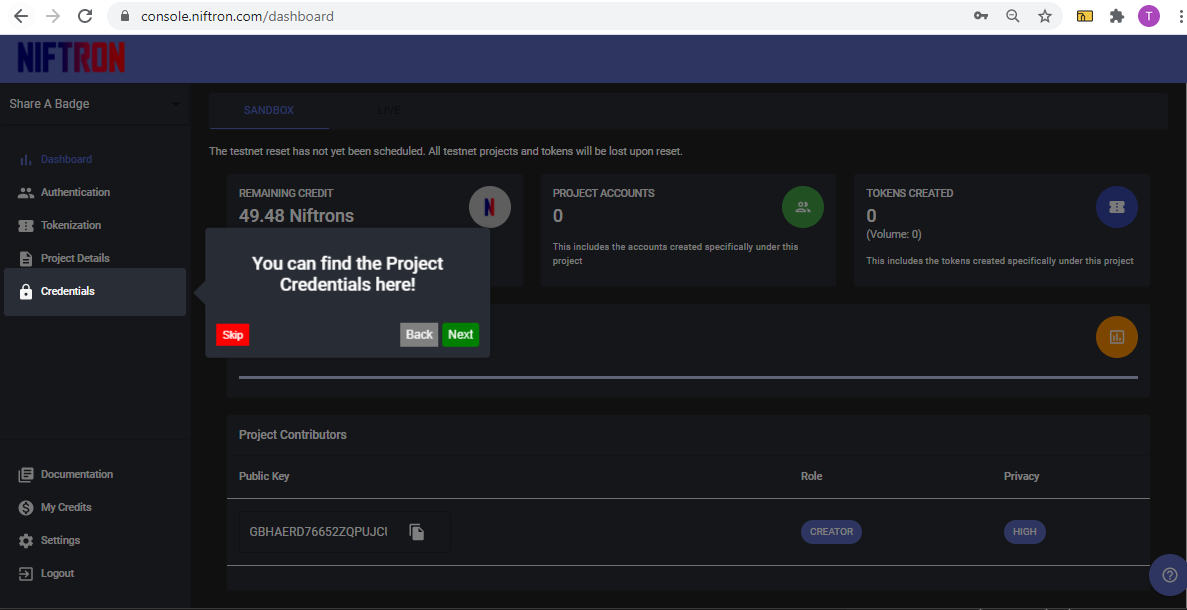
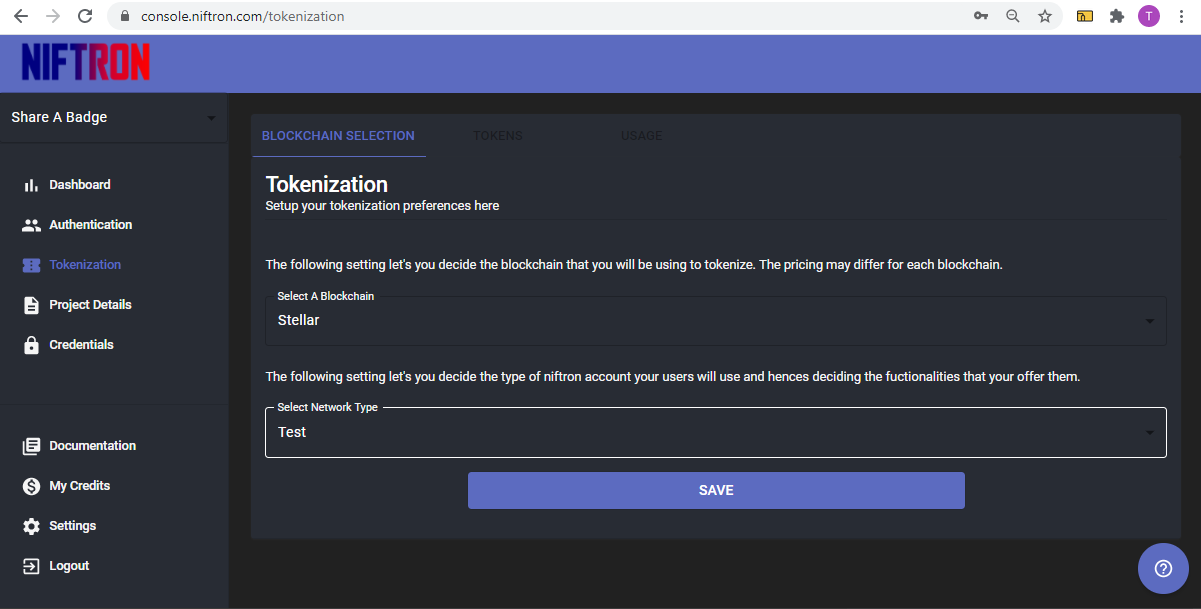
The walkthrough will introduce you to the Niftron console. The dashboard shows overall credits you have, project accounts created and total no of tokenized items under the specific project. You can find all the account and project credentials related to this project under the credentials tab.
Choose which blockchain you are going to digitize the art/badge. By default stellar blockchain will be selected.
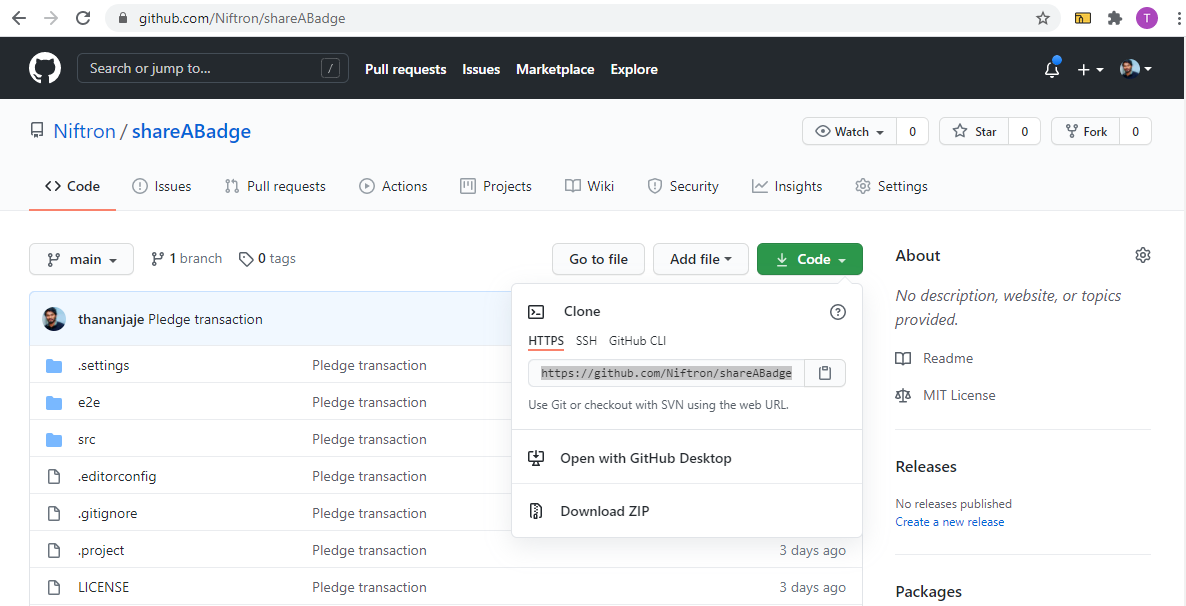
Let’s start coding. Let’s clone the test project from the github repository and initiate the test project on your local computer.
- Github repository: https://github.com/Niftron/shareABadge
- Clone the repository:
$ git clone https://github.com/Niftron/shareABadge.git
Once you have cloned the repository make sure you are in the master branch. Then navigate to main directory and install the dev dependencies in the package.json
$ cd shareABadge$ cd npm install
For issues regarding installing dependencies check github issues.
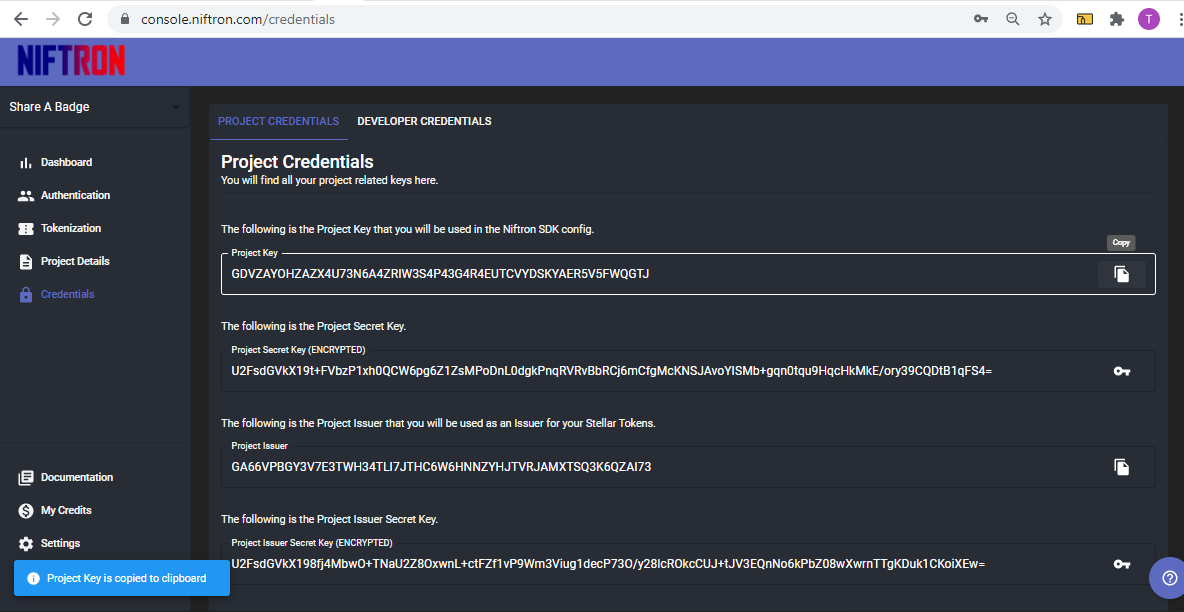
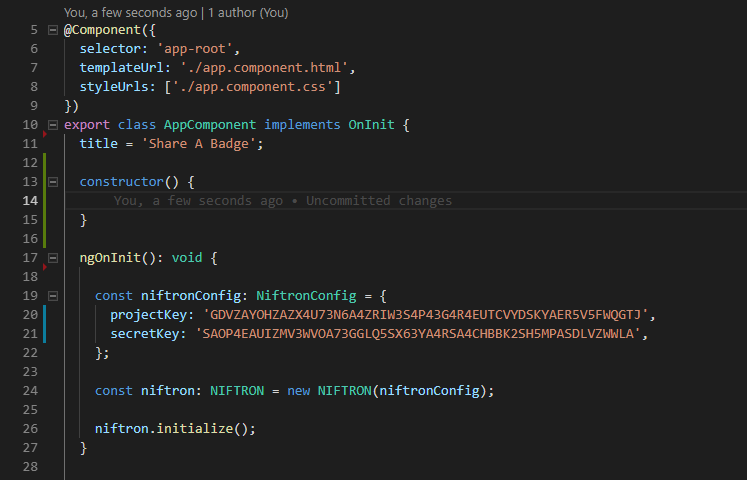
Since we have installed the dev dependencies, the Niftron SDK would also be connected. Configure the Niftron sdk using your project key and developer secret Key obtained from https://console.niftron.com/credentials.
import { NiftronConfig, NIFTRON } from "niftron-sdk";const niftronConfig: NiftronConfig = {projectKey: "--------- Project Key -----------",secretKey: "--------- Secret Key -----------",};const niftron: NIFTRON = new NIFTRON(niftronConfig);niftron.initialize()
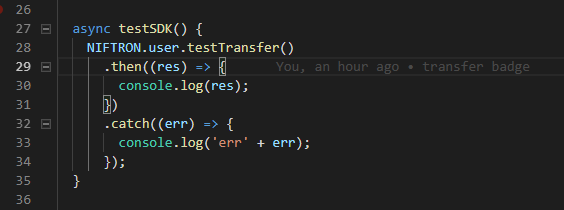
Let's test it out by making our first transaction to the blockchain via the SDK.
Pledge Transaction
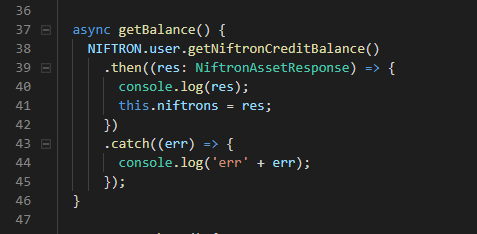
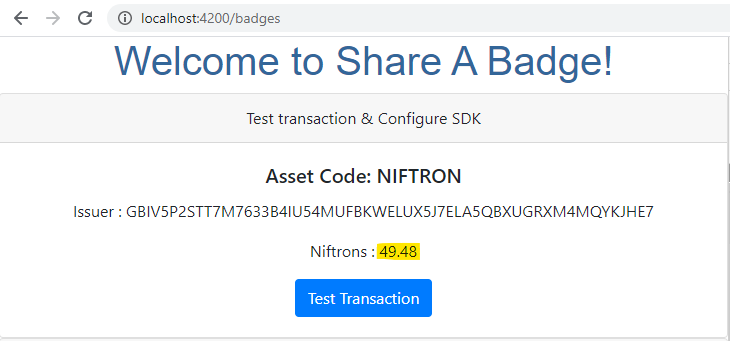
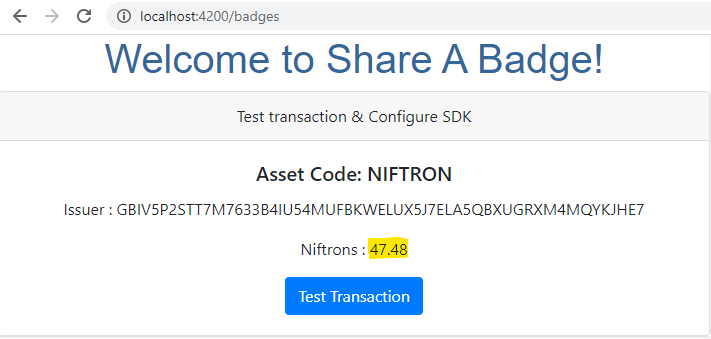
Test Transfer function sends a minimum of 2 NIFTRONS to Niftron Distributor from your account. Before and after executing the test transaction we will check the Niftron credit balance and make sure that SDK has configured successfully in the project!
Okay, all set! You have configured the Niftron SDK and made your first test transaction.